Thursday, July 8, 2010

Art Room/ Laundry Room

When we bought our house, I loved the over-sized (at least compared to what we were used to) laundry room with the extra set of kitchen cabinets in it.  I thought it would be great to have the extra counter space and cabinets for folding laundry on top and for storage underneath.  But over the last four years, the counter tops have become a catch-all spot, collecting clutter and leaving the room feeling chaotic and unorganized.  And as the kids have grown and gotten into art, their art supplies have taken over the cabinet and drawer space.  So the cabinets really weren’t working for me because most things were just thrown on top or shoved inside.  And if you’ve been reading my blog for any length of time, you know I LOVE organization.  I like everything to have a spot, a home, a place to go.  So lately, I have really been brainstorming.  I wanted a way to store the kids’ art supplies in some sort of neat, organized, kid-friendly fashion and I also wanted them to have a place to create, play with play-doh, paint, color, cut, and glue besides on top of my brand new kitchen table.  Ikea must have been inspiring, because after getting home, I figured out just how I wanted to do it.
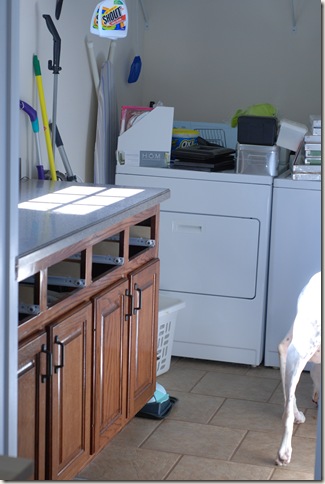
So it took some a bit of convincing (he’s getting offly tired of all my “little projects” lately. haha! ), but I finally convinced Tim to help me pull out those cabinets and turn our laundry room into an art room/laundry room.  Here is the before shot (I almost forgot to take the before picture!):
clutter, clutter…
010

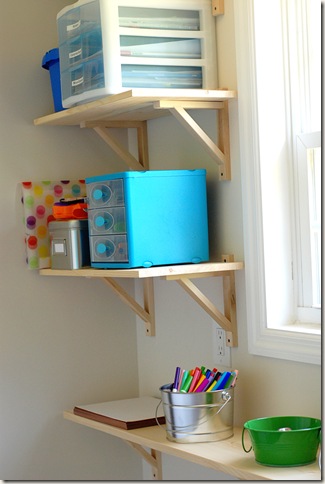
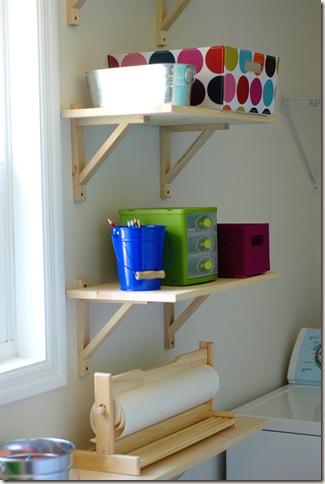
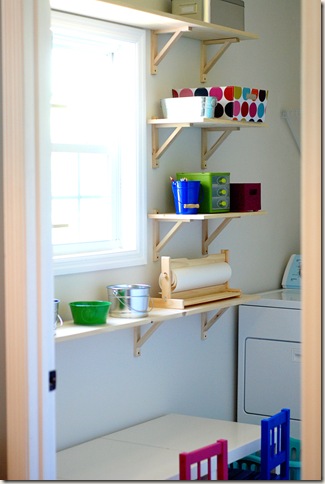
And here are the after shots.  Tim did an awesome job hanging all those shelves for me.  And I LOVE THEM!  I might even be a little giddy about them.  There were times when I think I about drove him bonkers with my insistence that every shelf and bracket had to be perfectly straight and all lined up.  But don’t they look amazing!  All the brackets and the short shelves are from Ikea and the long shelves are from Lowes.  (We didn’t make another trip to Ikea, I have a brother that was headed over from Atlanta, so he stopped by Ikea for us and picked up the brackets we needed.  Thanks Jason!)
artroom1
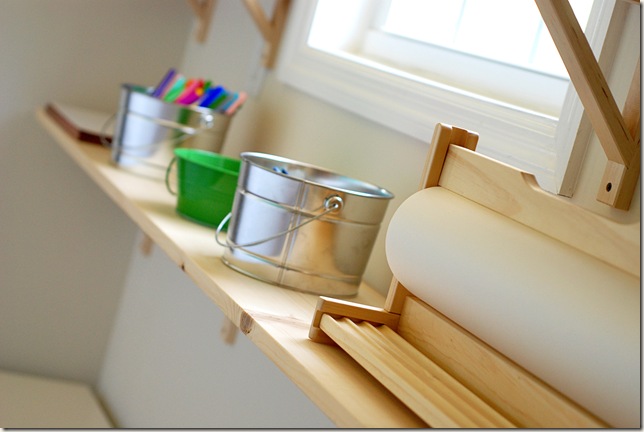
My insides jump up and down in excitement every time I look at all the colorful buckets, storage boxes, and organizational bins.
artroom2
artroom3
artroom9
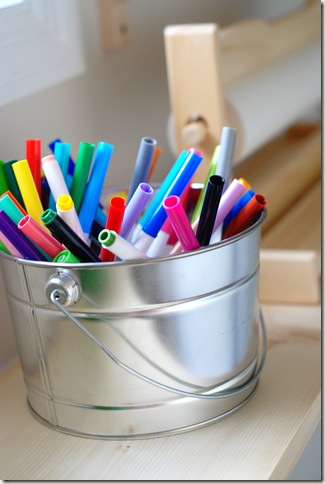
Having some of the art supplies in buckets makes it easily accessible for the kids and easy for them to put everything back away.
artroom4
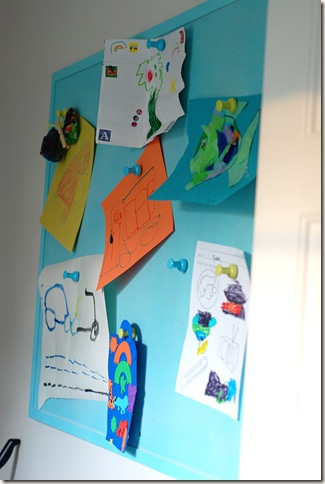
We hung a cork board up on the opposite wall to display favorite art pieces.
artroom5

The little tables and chairs are also from Ikea.  (During our trip to Ikea, we had picked up one table and three chairs, thinking we could have a little art area somewhere in our kitchen.  But once we decided to use the laundry room for an entire art room, we realized we needed more table space.  So some good friends that were making a trip to Ikea right after us kindly picked up some extra tables for us.  Thanks Brendan and Courtney!)  I spray painted the chairs fun colors.  And I have one more chair still in the box for Hudson when he gets bigger.
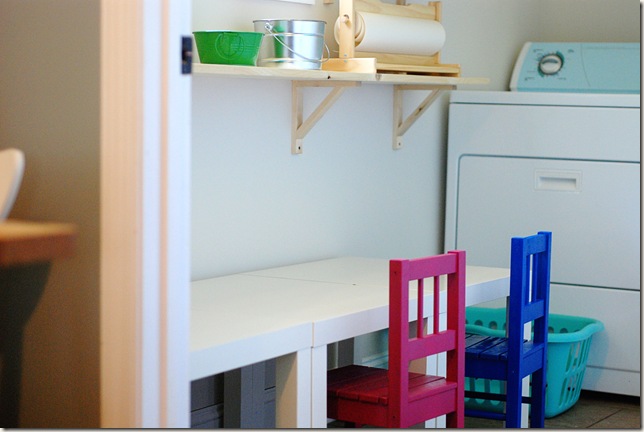
artroom8

I love that the art room is right off the kitchen.   So while I’m cooking dinner or making lunch, I can keep an eye on the kids while they’re busy playing and creating.
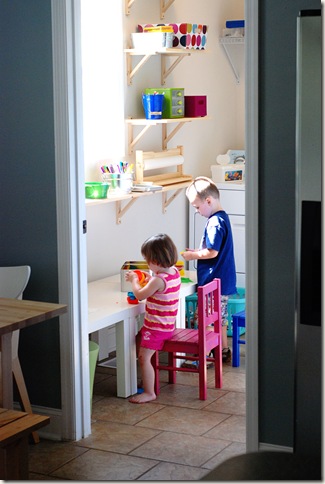
artroom6

And since they’re not working and making messes on the kitchen table, I can be a little more relaxed about it being cleaned up right away or in time for meals.  I also don’t worry about markers, crayons, or play-doh messing up their tables.  For one, it’s an art room, so that’s going to happen.   And two, those tables only cost $7.99, so it’s no big deal.
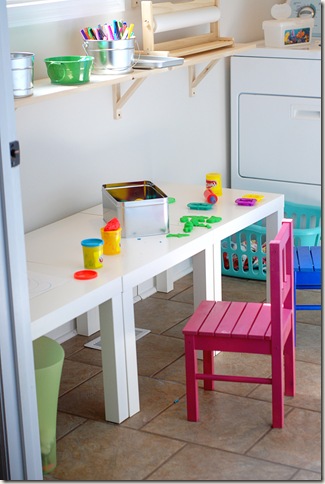
artroom7
The kids love their new art room.  They literally played in there for hours after they got home from pre-school today.  When I was tucking Tyson into bed tonight, he asked me if he could play in there all day tomorrow and not come out at all.  haha!
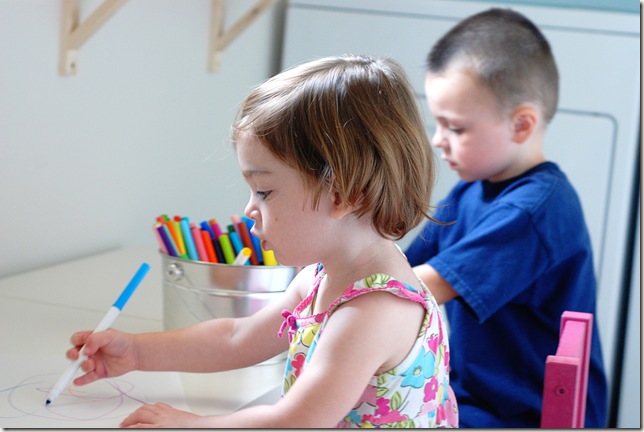
artroom10

Friday, July 2, 2010

A DIY Project

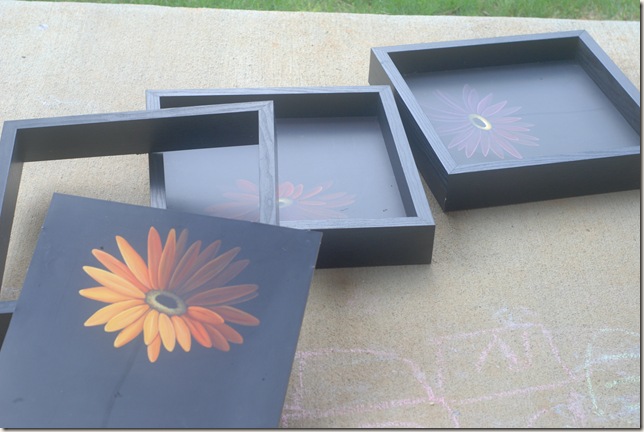
For months, I have been saving these old pictures in the garage because I thought the frames would be great to re-use one day.  But for the longest time, I couldn’t figure out what to put in them.  Since there were three frames and we have three kids, I thought it would be perfect to frame a picture of each of our kids.  But the size was a little weird…they are 15 1/2 in. by 15 1/2 in.  I couldn’t find anywhere that printed photos that size.  So I just kept those thoughts and ideas on the back burner of my mind and waited.

017


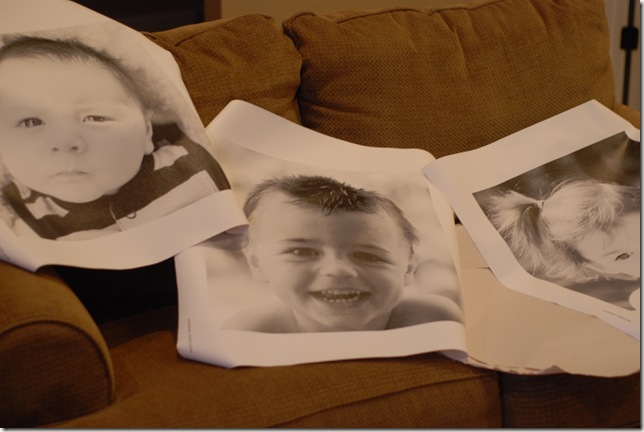
Then one day, I saw that winkflash was having a 40% off sale on their canvas prints.  They had an option for a 16 x 16 inch print on unstretched canvas.  I thought the size was close enough and just might work.  So, I uploaded my favorite picture of each of the kids (after changing the resolution so that they would still be clear when blown up this big – that’s a whole other story!), hit the order button, and crossed my fingers that it would work.  When I got them in the mail, I was excited.  They looked awesome!

003


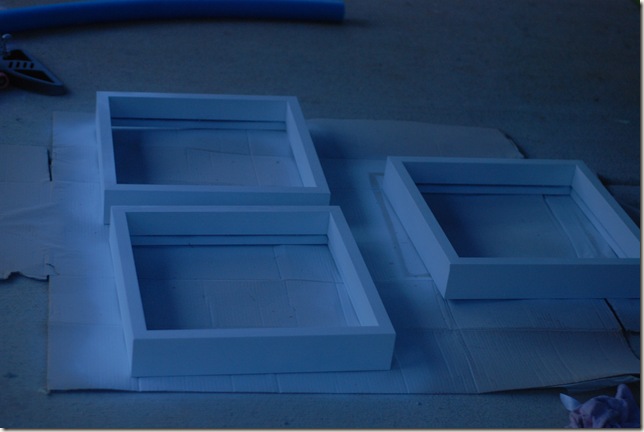
Since I am on an “I love the light and airy look” kick, I decided the frames would look best in our house if they were white.  The kids and I took out the flower pictures, sanded down the frames, and then I spray painted them all white.  (This picture was taken at dusk, so it sort of has a bluish tint to it.)


002


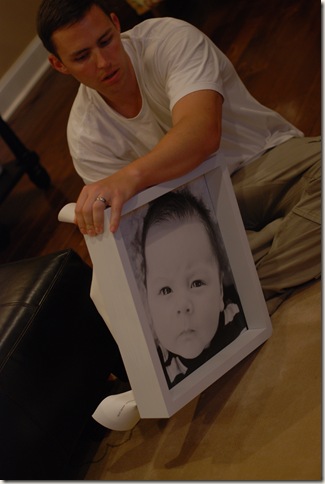
That night, Tim and I worked on putting it all together.  I had saved the cardboard backings from each frame.  We used them to lay the canvas on (making sure the picture was centered and just how we wanted it), then we just pushed the canvas and cardboard back into the frame.  It snapped right back in place.  Easy peasy!  In fact, it surprised both of us how simple it actually worked.  We didn’t even cut the extra canvas (just in case we ever want to use them with something else), we just folded it all down behind the frame, totally out of sight.

004


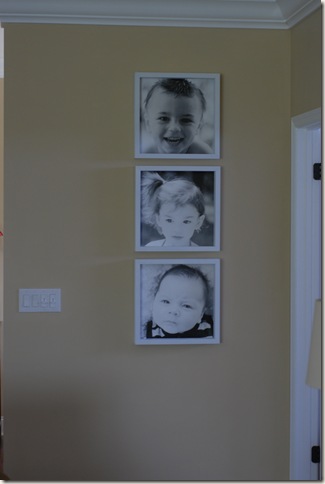
After plenty of discussion on how and where to hang our fab photos and lots of measuring to make sure they were lined up just right, we got them hung up on the wall.   We love how they turned out. 

007