The kitchen is done! (Well, except for a few minor paint touch ups that I still have to do, but I’m not counting that!)
Before I give you the grand tour, let’s take a quick look back at where we came from so you can fully appreciate the transformation.
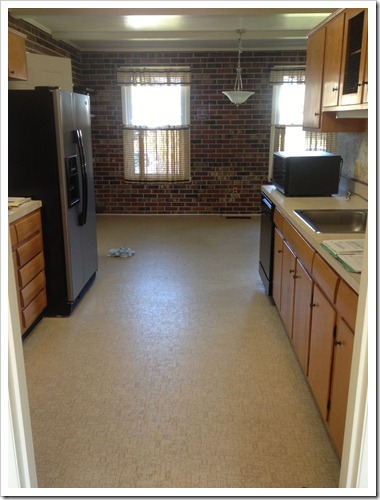
Looking in from the dining room. Remember those dark red bricks and linoleum floors!?
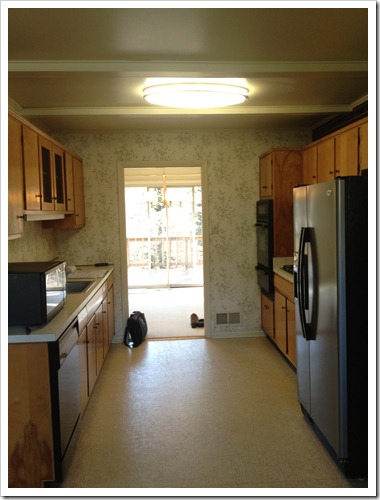
And here’s the opposite direction with a look at the lovely wallpaper.
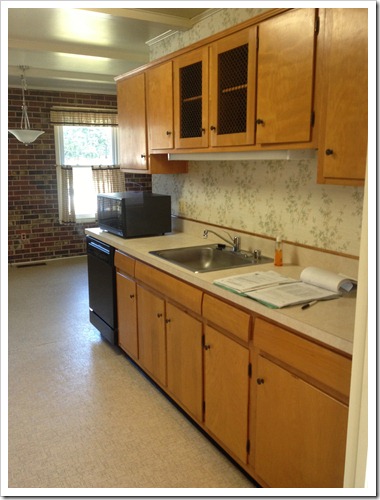
The sink side. More wallpaper.
The oven side. More red bricks.
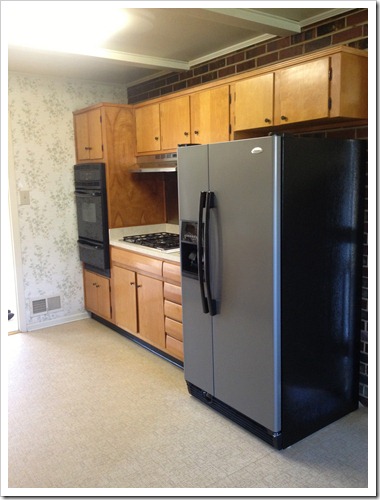
As you probably remember, we initially attempted to do some of the renovating ourselves, but quickly realized we were in way over our heads. So we waved the white flag of surrender and called in the professionals to get the job done. Their part of the reno was the demolition and removal of everything (it was a complete gut job!), install new wood floors and baseboards, install new cabinets, and hook-up the appliances. Our part was staining and applying Waterlox to the butcher block countertops, cutting and installing them, painting the walls and the ceiling, and putting up the subway tile backsplash. They were done with their part in about 10 days. It took Tim and I quite a bit longer to get our part finished. But we’re finally done!
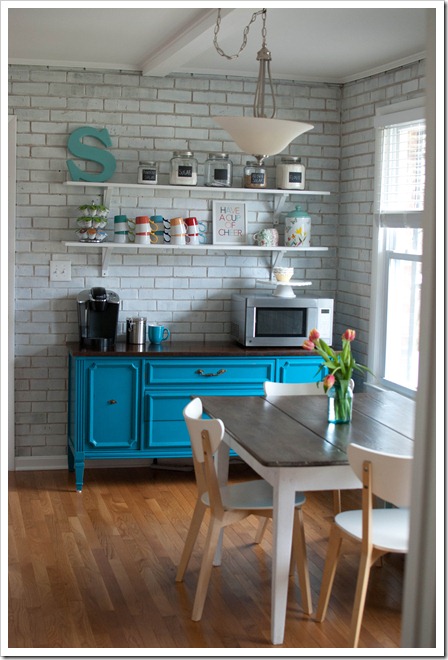
Here is the new view looking in from the dining room. I love the white washed bricks. It makes it so much lighter and brighter!

After much thought and deliberation, we decided to put the microwave at the coffee bar. It’s especially convenient for heating up my coffee and the kid’s food at meal times and it keeps the microwave from taking up any of my very limited counter space.
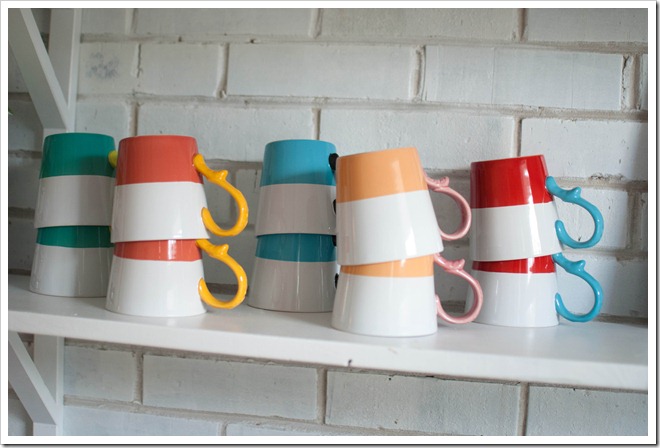
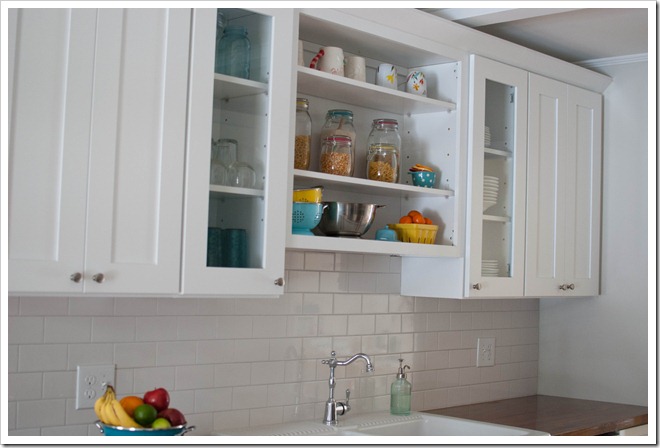
Plenty of cups for company!
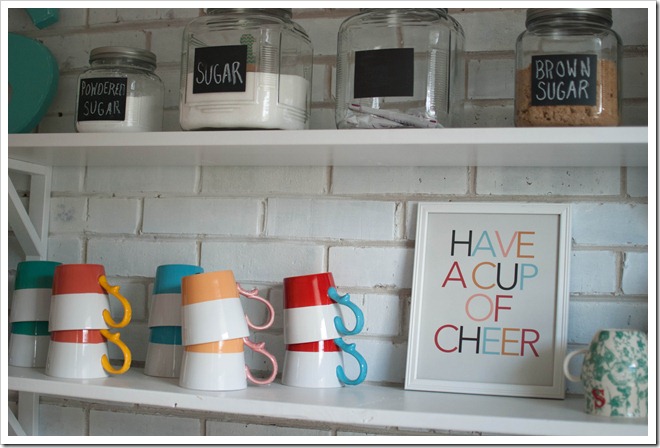
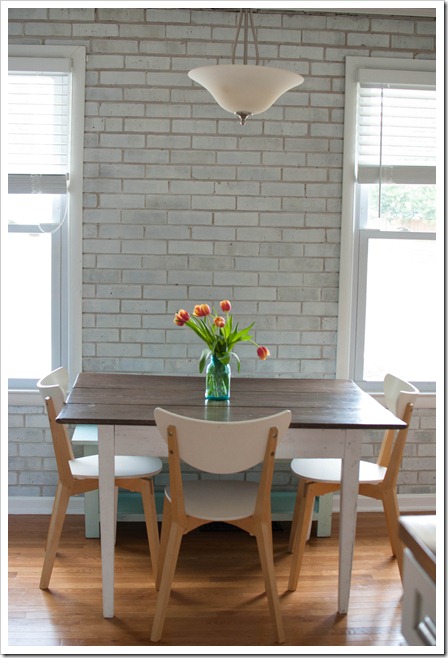

And here’s the view into the kitchen from the table and coffee bar area.
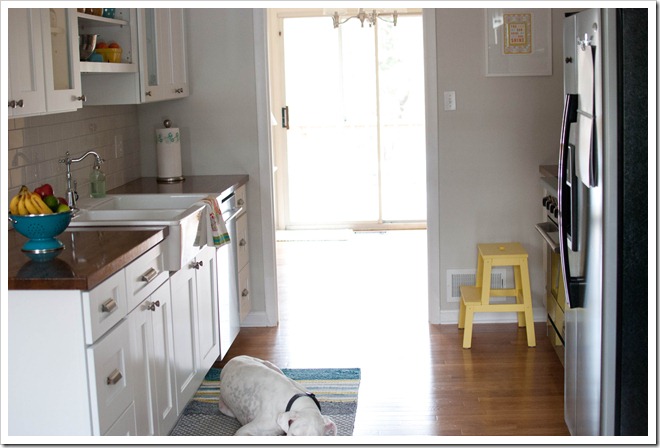
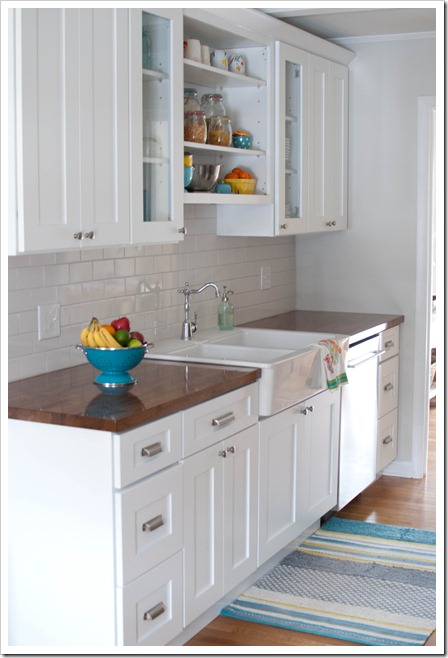
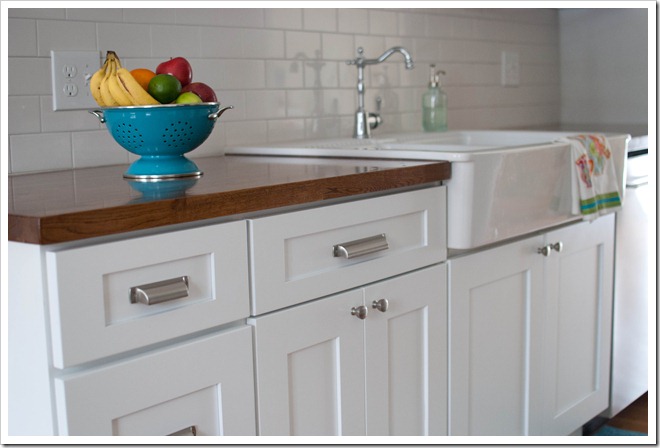
We’ll start with the sink side.
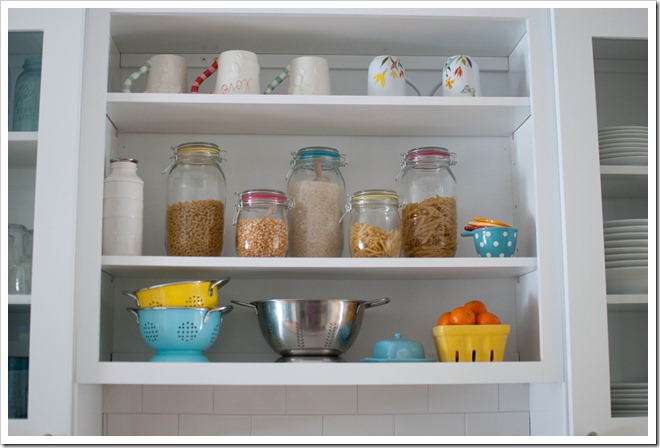
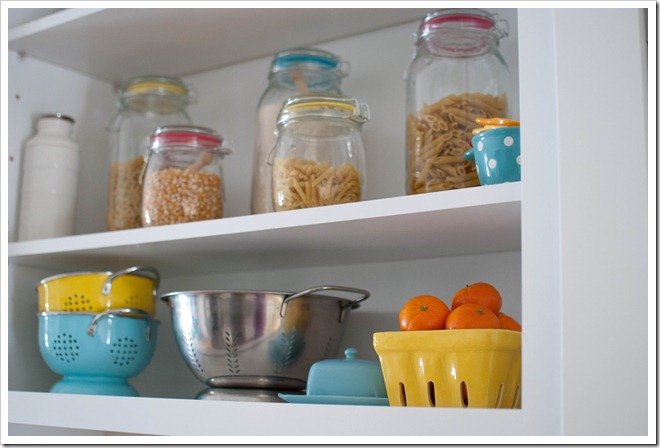
For the upper cabinets, I wanted some to have regular doors, some with glass doors, and some with just open shelves. Down below, we moved the dishwasher to the right side of the sink (because I’m right handed) and we chose to have a few base three drawer cabinets instead of having all base door cabinets.
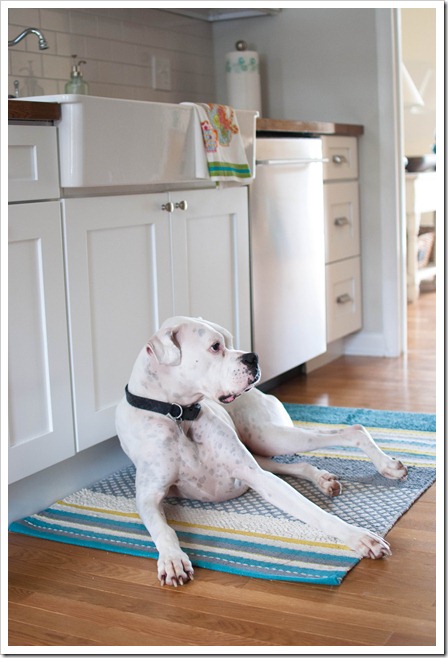
Pudge has claimed my new kitchen rug for himself.
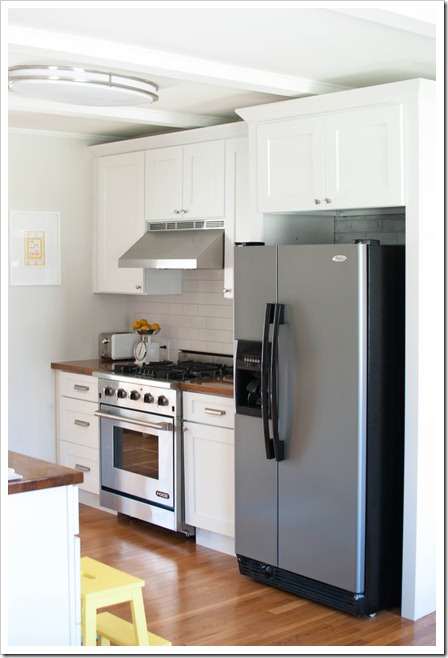
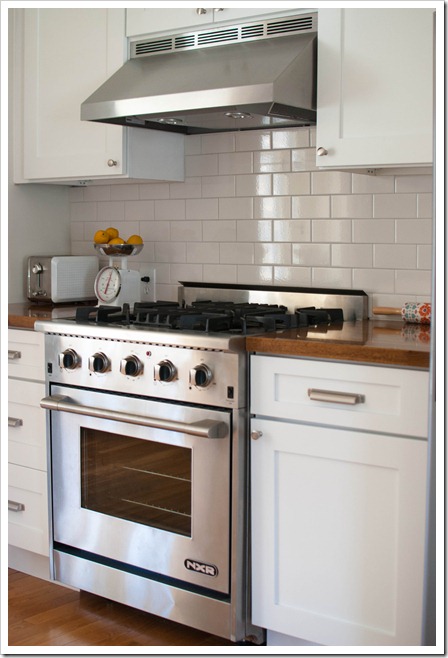
Now on to the stove side.
The day after we had settled on our renovation plan, signed the paperwork, and cut our first check, I read a blog on someone else’s kitchen renovation and she said that her favorite thing she did was enclose her refrigerator to give it a more built-in look. And immediately I regretted not asking for ours to be enclosed. So I made a few fast emails back and forth with our project coordinator and got that remedied. And I’m so glad that I did. It definitely changes the look and feel of the space. Our refrigerator (that we inherited with the house) is a smaller/shorter refrigerator than normal, so we made sure to leave extra space around it for when we upgrade to a regular size fridge in the future.
It’s so nice to be finally done with the renovation and settled a little bit more into this house. Slowly, but surely we are making this place feel more like home!
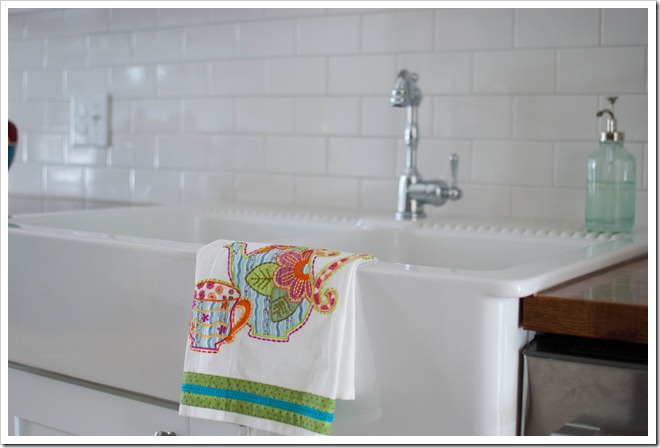
Farmhouse Sink : Ikea Domsjo Double Bowl
Butcher block counter tops : Ikea Numerar Oak
Countertop stain : Minwax Special Walnut #224
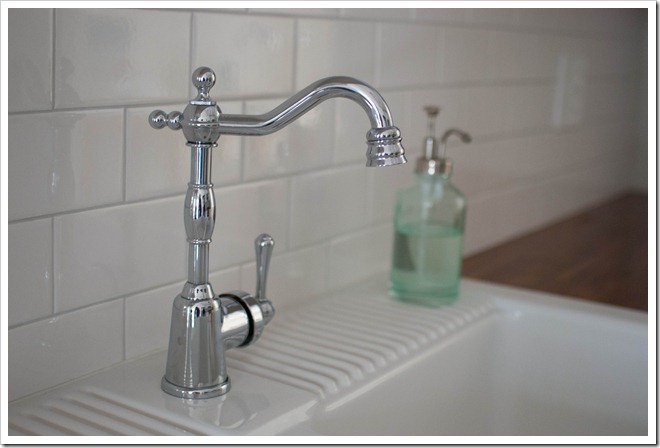
Faucet : Danze
Oven : NXR
Range Hood : Broan
Cabinet Pulls and Knobs : Restoration Hardware
Rug : Target
Paint : Behr Silver Drop
